(Arashiyama, Kyoto)
.
Hello~ dear blog readers! Long time no post, apologies! All’s been well our end, & I hope it has been the case on your end too! xx
.
This summer we went to Japan for three weeks! It was a special trip for us because we hadn’t been back for more than NINE YEARS (!). -Â The last time we were there, our son was only ten months old. This time, we were also taking our six year old daughter for her first ever visit. I really wanted to show them how wonderful Japan is, make them fall in love with Japan. So I planned to show them many aspects, & organised our stay in Tokyo (big city), Kyoto (old city) & Norikura (nature).
.
Here’s a bit about our trip told through some food pictures!
.
x . . x . . x . . x . . x . . x . . x . . x . . x . . x . . x . . x . . x . . x . . x
.
In Tokyo, we stayed in a hotel in Shinjuku ward. We chose there mainly because there is a coach straight to it from Narita Airport which made the travelling with big suitcases & jet-lagged children easier.
.
The hotel was the perfect choice as Shinjuku is well connected by many train lines, it made travelling around so much easier. We absolutely loved staying there – everything was perfect, including the hotel’s 28th floor swimming pool commanding an impressive view~!
.
There were two options for breakfast rooms at the Hyatt Regency. Continental buffet style, & the traditional Japanese style. Both were of amazing standard.
.
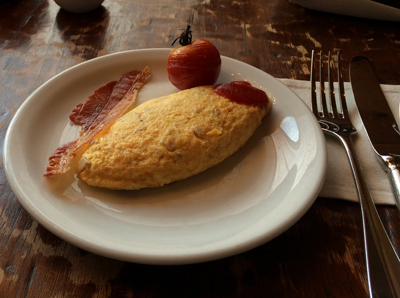
Continental breakfast : As it’s a buffet style, you walk around choosing what ever you fancy eating. It’s easy to over-eat, going back for seconds (& thirds & fourths… LOL), but then again, breakfast is the most important meal of your day, so it’s alright! – Right?? ^^ – There was an omelette station, where the chef would make one to your order in front of you. I absolutely enjoyed watching how skillfully they make it, I observed at what timing they stop whisking & start tossing it to shape.
.
.
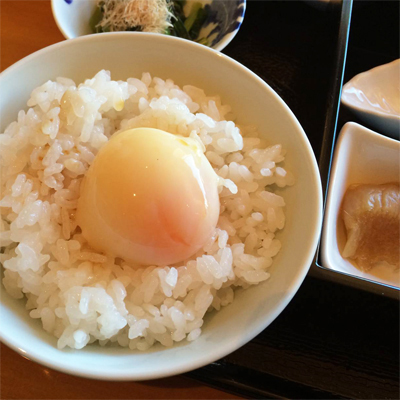
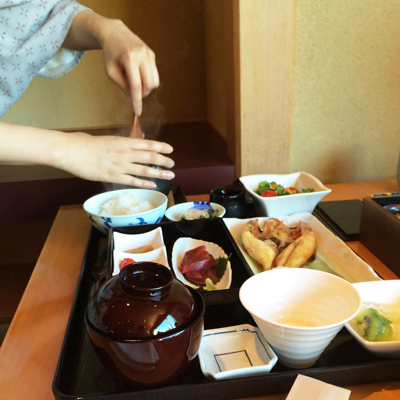
Traditional Japanese breakfast: One word: gorgeous!
- On one side of the room, they had the rice cooking in individual earthenware pots. We ate in a serene room, listening to the gentle clatter of the lids as the rice inside reached its boiling point. We slipped an『温泉åµã€(onsen tamago) on to our rice, then drizzled yuzu (Japanese citrus) soy sauce on it. Onsen tamago is an egg that’s been slowly poached in the shell. When you gently break it, the yolk is still very runny, & it heavenly oozes over your hot rice. It is a pleasure beyond words. The miso soup was with nameko mushrooms. A mushroom I don’t get to eat in U.K. ~ Happiness. ~
.
Leaving the metropolis that is Tokyo, we headed to Kyoto by shinkansen bullet train. In Kyoto, we were lucky to be able to stay at our close friends T & P’s. They’ve been so kind, & so generous to put us up for so many days. xxx Thank you T & P! xxx
.
Kyoto is described as a Bon-chi, a basin surrounded by mountains. Every direction you look, there are luscious green mountains & it is so beautiful to be reminded of nature all the time like this. But in the summer, the humid air settles right in to this basin – & it becomes especially HOT. When we were there, it was typically around 36 degrees.
.
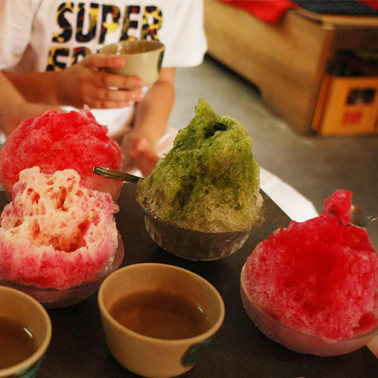
After a sweltering visit to the Kiyomizudera temple, we dropped by a tea-stop, & ate a dessert called『ã‹ãæ°·ã€(kakigÅri), a perfect summer respite of shaved ice with flavoured syrup. Mine was『宇治金時ã€(ujikintoki), ice with green tea syrup & sweetened red bean paste. D’s was strawberry milk. He didn’t know that they pour condensed milk, & found it too sweet, so couldn’t finish it!
.
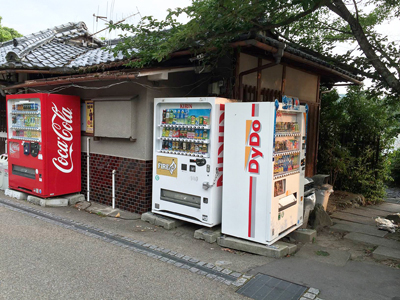
Talking about how hot Japan was, I should also tell you about how there were absolutely loads of vending machines in Japan, selling both cold & hot drinks. Sometimes these machines were in front of people’s ordinary houses (I guess they get a cut??). The prices of the drinks were reasonable. A water bottle is around 110 yen (64 pence).
– In the squelching heat, it was handy to have access to cold water readily like this. It’ll be great to have vending machines on the streets like this in the UK too, but I have a feeling that it won’t be possible. It’ll be vandalised sooner or later I’m quite certain… :(
.
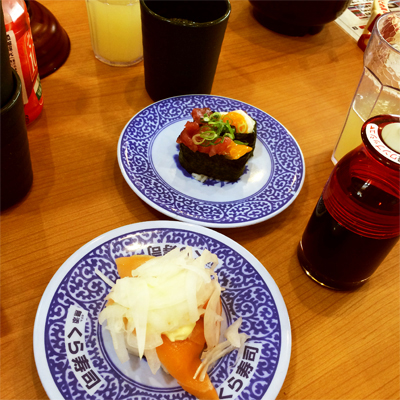
For one of the lunches, we went to Kura-zushi, a conveyor belt sushi restaurant! And it was super fun! Most of the plates were 100 yen each, which equates to roughly 60 pence. YES, ONLY 60 PENCE FOR A PLATE OF SUSHI!!! O.M.G.
.
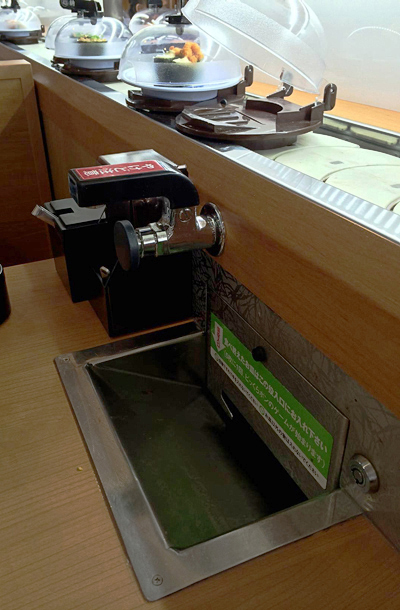
As you eat, you deposit the plate in the slot on the end of your table, & it counts how many you’ve amounted so far. Every 5th plate counted, there is an animated game on your touch panel (an iPad that is mounted on the wall). On very rare occasion, you win & get a small prize. (When we were there, the prize was a cute LED yoyo). We all went crazy for this system, kept eating many plates to slot in so that we can do the game. ~ Under the spell of the ploy to sell you more sushi? Oh, most certainly!!! :) But when a plate is 60 pence only, we were happy to go along with it! :) In the end, we ate 56 plates (there were two families), but even so, we only won one prize…!! LOL!
.
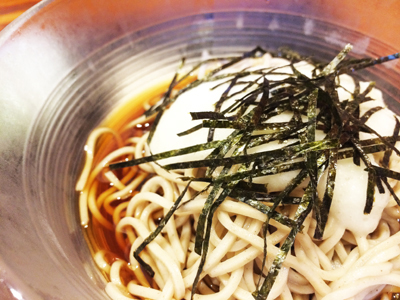
Another dish I had in Kyoto:『冷ã—ã‚„ã¾ã‹ã‘蕎麦ã€(Hiyashi yama kake soba). Cold buckwheat noodles in cold tsuyu broth, with grated Japanese yam topping. This Japanese yam, when grated is called “tororo”, & it is something I hadn’t had for a loooooooong time. I mean, like years. And Oh Boy, did I missed you tororo!
.
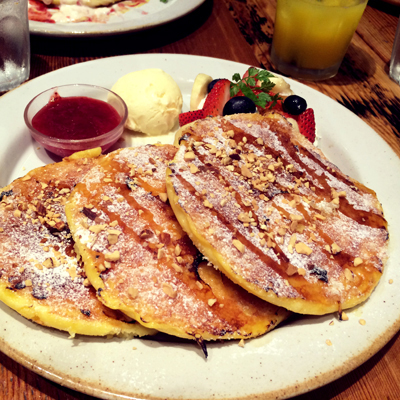
(Needless for a caption! Pancakes~!!! A meal in itself…!?)
.
Saying goodbye to old friends in Kyoto was sad, especially because we don’t see them often, but we eventually moved on to Norikura in Nagano prefecture.
.
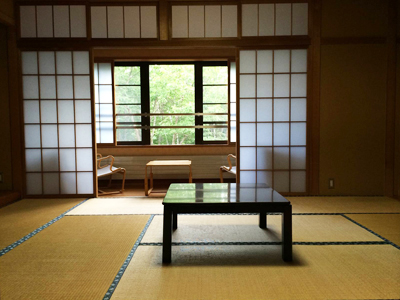
We had a totally different experience, staying in a lovely tatami mat room at North Star Lodge. This hotel is very unique, it’s run by an English speaking crowd. Outdoor adventures is their main focal point, especially snowboarding in the winter season. Their living room has table tennis & table football. We had so much fun playing it, we were laughing so hard! ^^
.
The breakfast & dinner is included in the stay. And oh boy, the chef there knows how to make good food. We were served locally picked mushrooms & vegetables. Water melon which is a local speciality. Homemade miso that one of the staff’s mother made.
Here, the children experienced Japanese communal baths for their first time. The stay there felt like a holiday within a holiday!! Loved it, the staff there were all friendly & we really felt cared for. I would love to go in the winter next time…
.
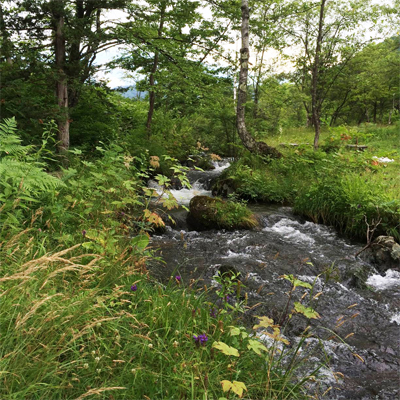
(Nature everywhere in Norikura. We climbed mountains, hiked to waterfalls, played in the stream.)
.
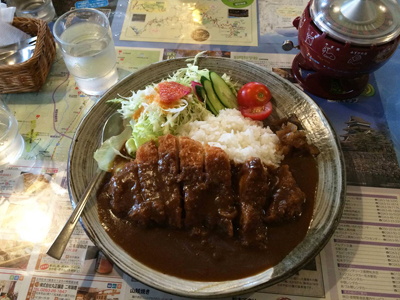
(Big lunch at nearby eatery! カツカレー 。Katsu curry. Deep fried pork cutlet with curry & rice.)
.
We went back to Tokyo for the final few days of our trip. One of the many places we visited was the Ghibli Museum. It was the number one destination for the kids. They’ve seen most of their movies & love them. The exhibit at the museum was truly magical, we thoroughly enjoyed the visit. Â – The cafe restaurant within was also really good too.
.

『真ã£èµ¤ãªãƒ«ãƒãƒ¼ãƒ–ã®ã•ã‚ã‚„ã‹ã‚¹ã‚«ãƒƒã‚·ãƒ¥ã€Rhubarb soda, with a “straw” straw – nice little touch, since the restaurant is called “straw hat”.
.
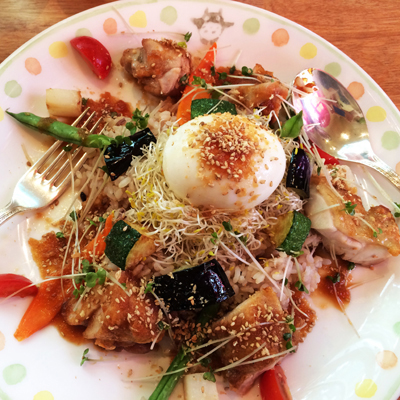
『ã¨ã‚Šè‚‰ã¨å¤é‡Žèœã‚’ã®ã›ãŸã€ãŠæ—¥ã•ã¾ã”ã¯ã‚“ã€Summer vegetable with teriyaki chicken thigh, alfalfa sprouts, soft boiled egg. On a bed of mixed grain rice. Sesame seed soy dressing.
.
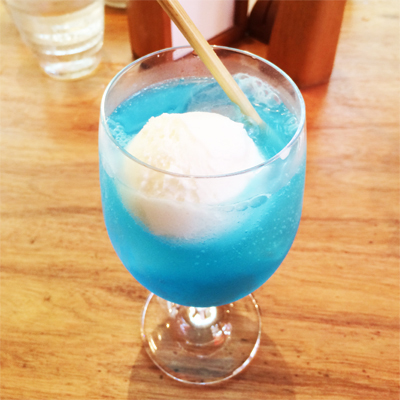
『野ã£ã±ã‚‰ã®ã‚¯ãƒªãƒ¼ãƒ ソーダã€Ice cream float! I used to l.o.v.e this soda as a kid! But I remember it used to be green, & had one of those freakishly bright red cherry on top. Blue version is kinda stylish!
.
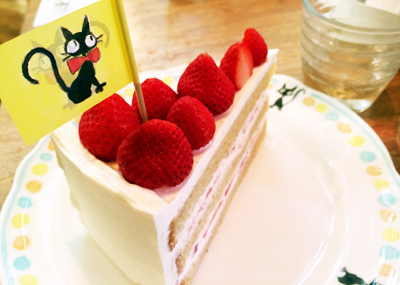
『ãµãžã‚ã„イãƒã‚´ã®ã‚·ãƒ§ãƒ¼ãƒˆã‚±ãƒ¼ã‚〠We finished off the meal with a strawberry cake. The genoise sponge was quite brown – maybe it is using unrefined sugar. ~ It was very very tasty. ~ Strawberry cake is our family’s ultimate choice for cake, I make these for family birthdays, so I’m so happy we ate such an amazing one at such a memorable museum!
.
x . . x . . x . . x . . x . . x . . x . . x . . x . . x . . x . . x . . x . . x . . x
.
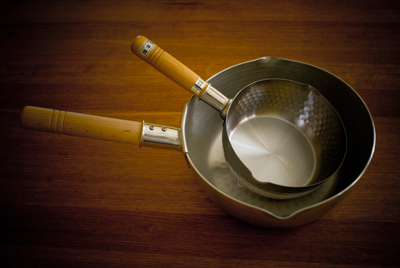
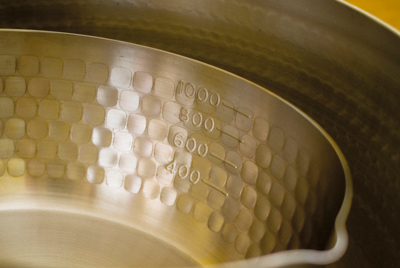
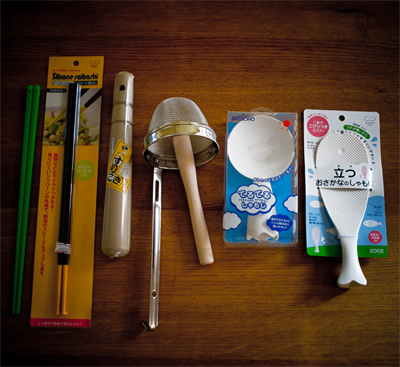
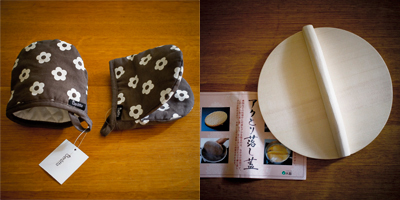
I hope you enjoyed the tiny glimpse in to the food of Japan! In the next blog post, I’ll report about the shopping trip to Kappabashi kitchenware district with my childhood friend A! :) Stay tuned!! ♫
.
Hope this post finds you well, T xx
.
.