.
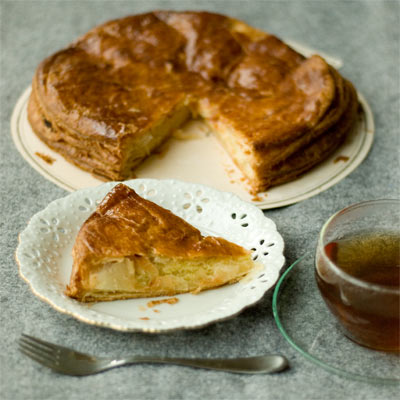
January the 6th is an important date for anyone who’s knee-deep in Cake-love. Y’see, it’s a special date to consume a particular cake called the Galette des Rois – a super delicious French cake made simply with flakey puff pastry & frangipane filling (almond cream & custard cream mix of 2:1 ratio).
(Note: some pâtisseries just use almond cream filling, & some pâtisseries sell other flavoured fillings as well as the ‘classic’ version. Ie: Hermé’s got several types, one of which is filled with his famous signature combo, the ‘Ispahan’, which is, rose-flavored almond cream, lychees & raspberries.)
.
‘Scuse the pun, but the “charming” factor that gets everyone raving is that the galette hides a ‘fève’, a small ceramic (sometimes porcelain or plastic) charm. The lucky person who stumbles upon the fève in their slice is crowned the King or the Queen of the day, & get to wear the golden crown supplied. He/ she can also get to choose who can become their fellow King or Queen to enjoy such privilege together.
– I guess you can take this to your advantage & choose someone you fancy as a flirting tool! – That is if you’re single & available though! I guess I’d probably have to choose my D. – Then again… if George Clooney was attending the same party… … [!!] No, no, do not worry! (cough cough…).
.
Of course, I ‘should’ mention that the date means a lot more than a cake-eating fest!
January the 6th (or the first Sunday of January) is a Holy date called the Epiphany, commemorating the Twelfth Night when the Three Kings arrived in Bethlehem bearing gifts for baby Christ, thus by so doing revealing Jesus to the world as the Lord & the King (The term Epiphany means ‘to make known’).
– Although, I think nowadays many people attach no particular religious significance to the date, but just enjoy the culinary tradition of it alone. (- a bit like the modern day Christmas, non?)
.
x . x . x . x . x . x . x . x . x . x . x . x . x . x . x . x . x . x . x . x
.
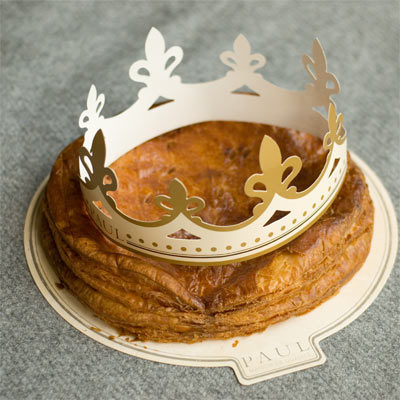
(Medium size, measuring around 9 inch diameter was £11.00. Their large-size costs £14.00. The crown is white & gold, the traditional colour of Epiphany.)
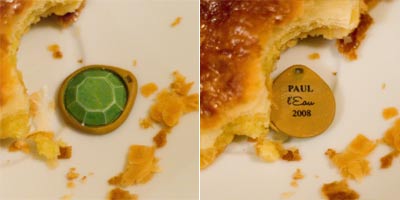
(The fève, front & back view. The cake came with a note on which printed the following words: “BEWARE OF THE CHARM – Make sure you look out for our royal charm, hidden somewhere in this Galette des Rois, please don’t chip your tooth on it or swallow it. Whoever finds the charm in their slice is crowned King or Queen for the day, traditionally they also have to buy the next Galette.”)
.
My Galette des Rois 2008 was purchased from the pâtisserie PAUL.
I guess if I was living in Paris I would have ordered mine from the likes of Hermé, or other super-artisanal pâtisseries, that are less ubiquitous. But this is London, & the only place I knew that would sell the Galette des Rois was this PAUL & Maison Blanc.
.
In Hampstead, North London, these two chains exist opposite each other. In comparison, MB’s one looked rather sluggishly made, with the sides of the galette sloping outwards like a splat. PAUL’s was straighter & glossier, although the top surface was bubbled-up & uneven, the pattern poorly executed & was barely visible – definately not picture-perfect either. BUT, again, “this is London”, this is what had to do.
.
Of course I could have made one myself. But y’know, dare I admit, I felt like hibernating. I know, I know, straight from my motivational blurb on my previous post about experimenting, it’s a bit embarrassing.
.
But on this occasion, it turned out beautifully to my favor, because I re-realized that there’s nothing like the excitement that you get from especially travelling to “buy” a cake that you know will be delicious. And especially with this cake, I won’t know where & what design the fève might be!
(- Also, I often find that baking my own cake puts me off eating it slightly, because I know how much sugar & butter went in to it, which is… ‘a lot’!!)
.
After purchasing the galette, when we were browsing in Waterstones Bookstore, I had the most wonderful experience of noticing that I received a straight-from-the-oven galette. The base of my cake box was hot to the touch, & the gorgeous smell of super-freshly baked pastry filled the air, the buttery-ness almost too over-powering. [!!] I urged D that we gotta go home a.s.a.p.! This baby’s too delicious to wait around!
.
And guys. yes, it truly was heavenly delicious! The puff pastry had a glossy top, was delicately flaky, & was not too sweet, slightly salty even – it went well with the moist & sweet almond frangipane inside. After having a small bite, I decided to pour myself some Nilgiri tea. I know, I know I should stay away from caffeine, but I also knew the combo with the Nilgiri would work great to refresh the palette from the rich buttery-ness. A sip now & again between my bites. I just had to. A ‘erbal just wouldn’t be up to this job!
.
PS: Gentle reminder.
Have you tidied away your Christmas decoration? Apparently “Twelfth Night is when all Christmas Decorations should be removed so as not to bring bad luck upon the home.” [!!]


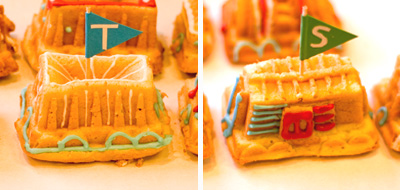


 (It’s the most creamiest, & yet most delicate Crème Caramel I’ve ever tasted in my life!)
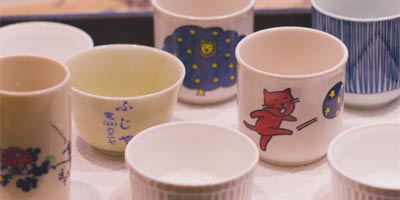 (I didn’t have molds that were all the same, so I used my collection of Japanese tea cups instead! – The two illustrated ones are from my childhood. And the one with the writing is a soba (buckwheat noodle) sauce dish that my parents brought over from Japan over 25 years ago!)
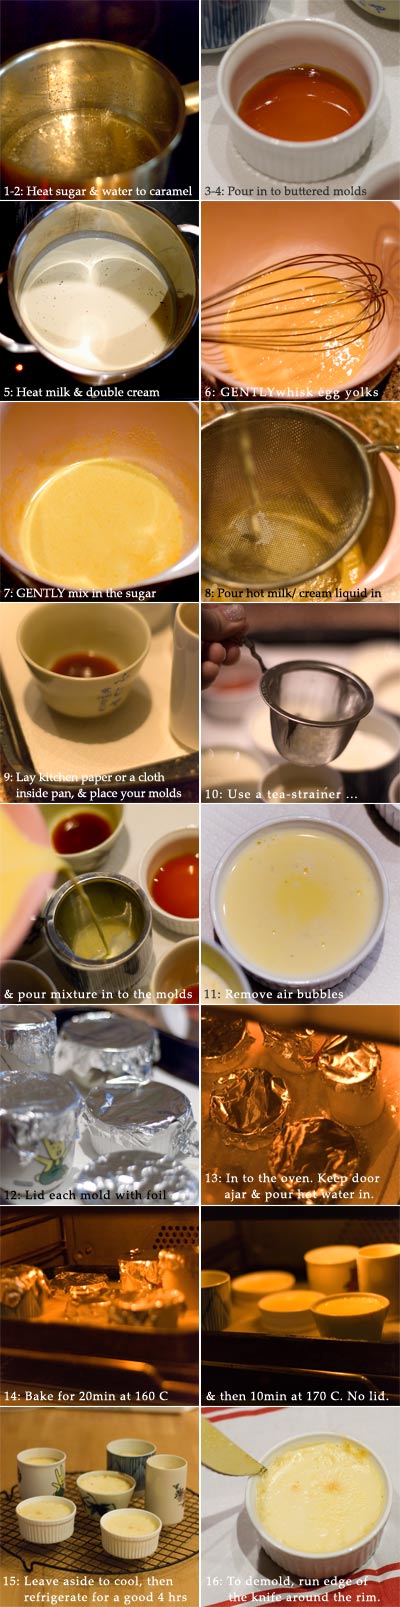


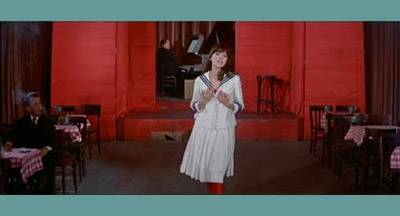 (In the strip cabaret: This was the ‘it’ scene for me, when she seductively sang to the camera, about her beauty. The song melody has been playing in my head ever since…!)
